Photo & Lighting Tips
Introduction
At bakesale, we believe that baking is an art form, and just like any art, it deserves to be showcased in the best possible way. That's why we want to share some tips and tricks to help you take the perfect product photo and use lighting to make your baking stand out. Our goal is to help you create a unique and appealing brand that ensures your customers have the best experience possible. So, let's dive into the world of food photography and discover how to capture the essence of your delicious treats.
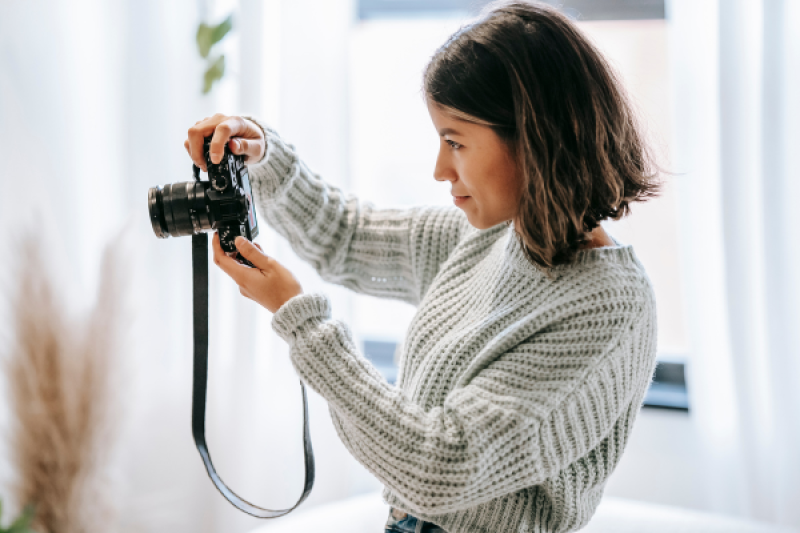
Photography
Prepare to be photo-ready
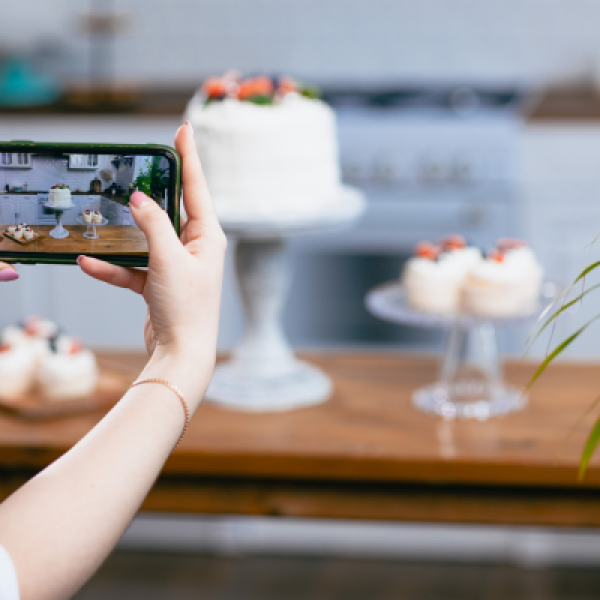
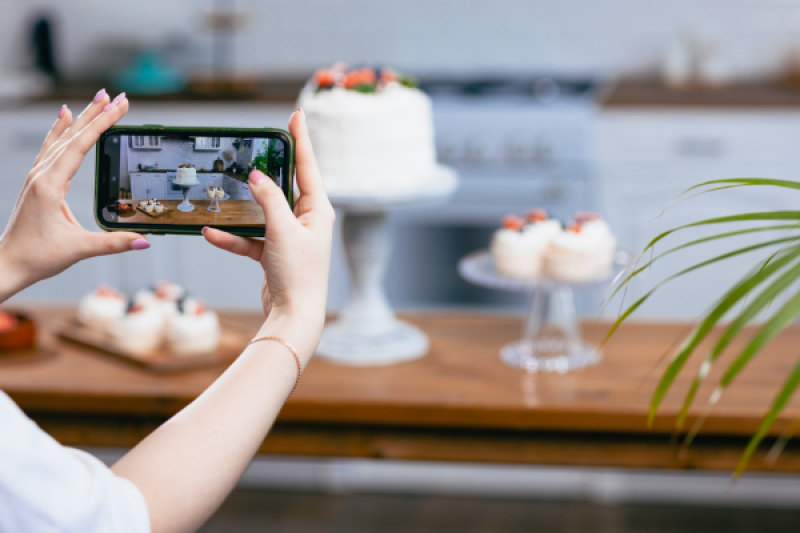
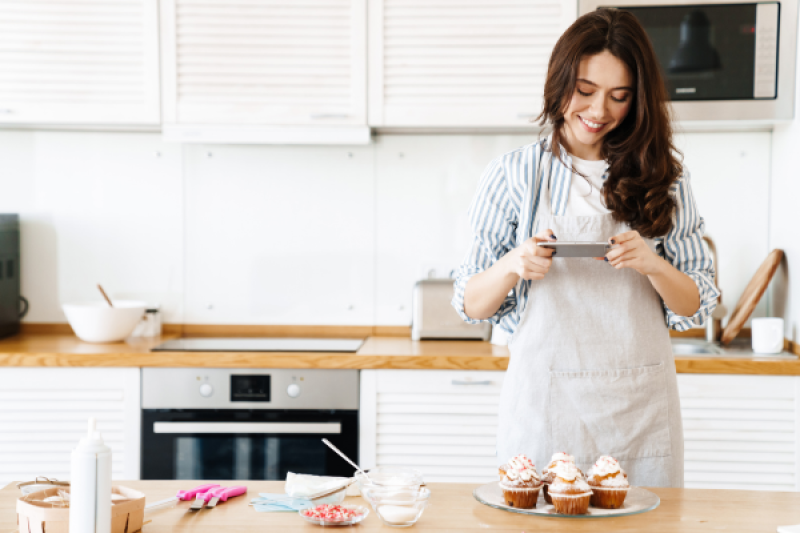
- Arrange your food to show-off its best features.
- Choose complementary surfaces and cutlery.
- Plate the main subject of your photo in the middle of your plate and leave room on the edges.
- Get the lighting right
- Light from the side, rather than the front. Use natural light whenever possible, softer light when not. Watch for harsh shadows.
Experiment with framing
- Try photographing from different angles. Use warmer, more appetising colours that are true-to-life. Use depth-of-field to focus on the most appetising aspects of your photo.
- Edit your food photos like a pro
Sharpen your image.
- Adjust the white balance to negate cooler colours and bring out warm ones.
- Increase contrast, brightness, and saturation, but only slightly.
Crop
- Focus on the most important part of the image.
- Keep in mind, your image will be cropped to a square thumbnail once uploaded to the website.
- Don't be afraid to get creative
- Rules are made to be broken.
- A unique angle, perspective, colour palette, or composition can help make your food photos stand out.
Lighting
Avoid lighting from the front
Lighting from the front has a tendency to create harsh bright spots in your photograph, meaning that textured foods won't be contrasted in a way that emphasises the texture of your food, making it appear bland and tasteless.
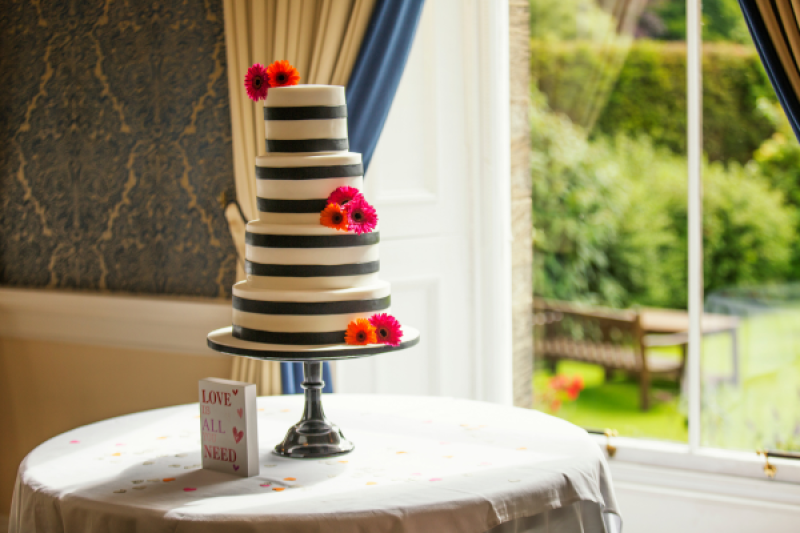
Light from the side
Lighting from the side of your food is a great way to bring out the shadows and bright spots of certain food textures - such as bread. This is especially important when photographing food that balances a lot of textures, like decorated cakes.
Watch for harsh shadows
You want to bring out the texture of your food, harsh shadows can be off-putting and unappetising, often resembling spots of mould. If you notice harsh shadows, adjust the angle of your light or camera to balance out the shading in the frame and bring out the food's texture.
Use soft, diffused light
Harsh shadows can also be prevented by using softer lighting. If you're taking a picture under natural light - it's best to do this by a window on an overcast day. If you're taking pictures in a studio - try using a low light or reflective surface to bounce and diffuse natural light or artificial light onto your subject.
Use natural light
It's not impossible to get a good photo of food under an artificial light source, but it does take a bit more knowledge of in-studio lighting design. Natural light, espcially on an overcast day, is bright enough to bring out the textures of your food, but soft enough that you won't encounter harsh shadows. Otherwise, capture the light at dawn or dusk.
Conclusion
We hope that these tips have helped you to take your food photography to the next level. Remember, your food is your art, and it deserves to be showcased in the best possible light. So experiment with different angles, lighting, and composition to find your unique style. At bakesale, we believe that creating an exceptional customer experience is crucial, and we hope these tips will help you achieve just that. Happy baking!